Hi there, friends!
Welcome to day #2 of the Stamping Sisters winter camp.
That means all 4 of us
(Barb, Darlene, Jeanette and myself)
will bring you a different class / card technique each day this week.

and I call this cardmaking idea
"Let's get RIPPED!" :)

This is a photo heavy post but if you'd like to see the video version,
feel free to click on my YouTube channel video here
↓
The first thing you'll need is some cardstock -
both an a2 size base and a quarter panel for the base layer
and 2 sheets of WHITE tissue paper.

Cubes are great since you'll be working in small spaces, nooks n crannies!

Once the images are all stamped out, let them dry for a minute or two.
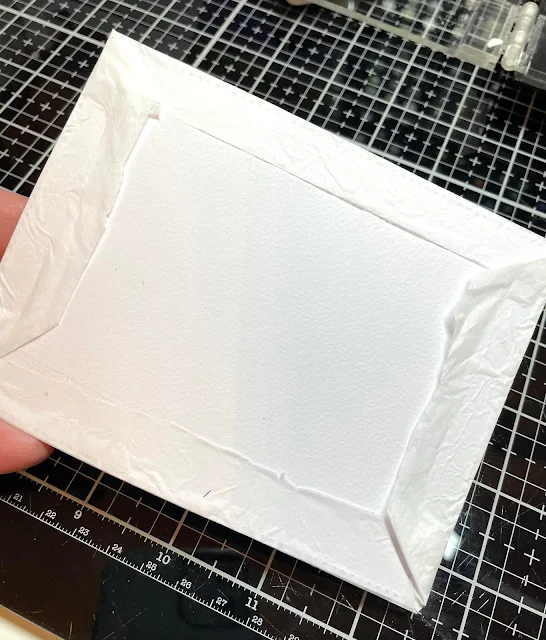
While that's drying, start your base layer of the card
by taking the second tissue paper and wrapping your card base layer.
Any adhesive or tape will do as you'll cover this part up.
Set that aside and go back to your stamped solid images.
Start ripping /tearing around the image carefully so that you have
just the images along with a slight edge.

This part can be anything you want it to be - torn/ripped/missing a piece ...
it is perfectly imperfect and your OWN creation!

They should look something like this.
The idea is to create a layer. This works best if you have multiples!
I always lay them out first to get an idea of where they will go ...
before gluing :)
You can use pixie spray or spray adhesive to add them to your card base.

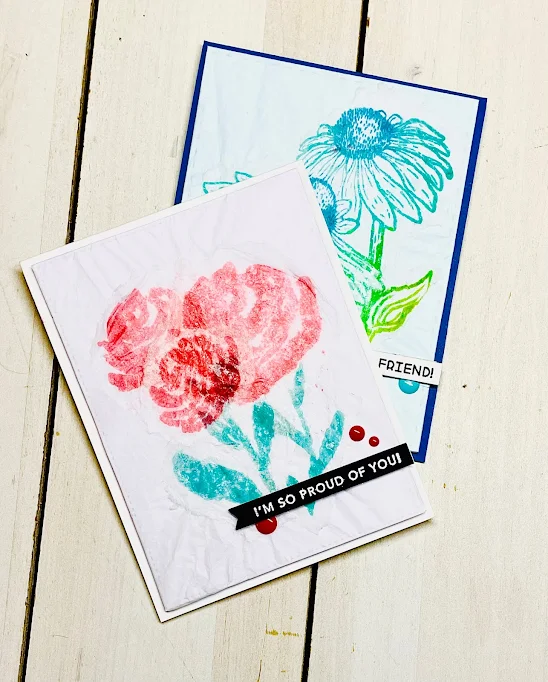
Glue it down and add a sentiment/embellishment if you like!
I used the sentiment strips from Taylored Expressions
and added enamel dots and let the ripped paper be the focal point.
Here she is!

I don't have photos of the blue floral card
but it is in the video content on my YouTube channel.
That one is equally beautiful!
Such a fun technique and I hope you give it a try.
Here are the camp counselors and their class dates:
Monday/January 24th ~ Jeanette @ Creativeplay
Tuesday/January 25th ~ Kelly @ Sandcastlestamper
Wednesday/January 26th ~ Barb @ inkingintoretirement
Thursday/January 27th ~ Darlene @ Accordingtobijou
I hope this made sense!
It's a fun way to create extra dimension and 'drama' to your cardmaking
and takes the tissue paper stamping a big leap further!
Each time you create this, it will always be unique and one of a kind.
Thanks for stopping in today!
Be blessed,
~Kelly
Going to view your video, but these cards are AMAZING!!! Just had to comment first! Love the colors!
ReplyDeleteYou're creativity knows no bounds. What a fun technique, can't wait to try it. Thank you so much!
Abother stunning and clever idea Kelly, you are always so creative! Love the effect of stamping on the tissue paper!
ReplyDeleteHugs!
Such a pretty soft look with the tissue paper Kelly! Great idea to add some texture to your design! Really loving all that you're sharing my friend!
ReplyDeleteThis is so fun and pretty--your have such a creative mind! I love the technique and though I did not get ripped while making it, I had a blast with your tutorial! Thanks for this camp idea and I hope we get to do it again!
ReplyDelete