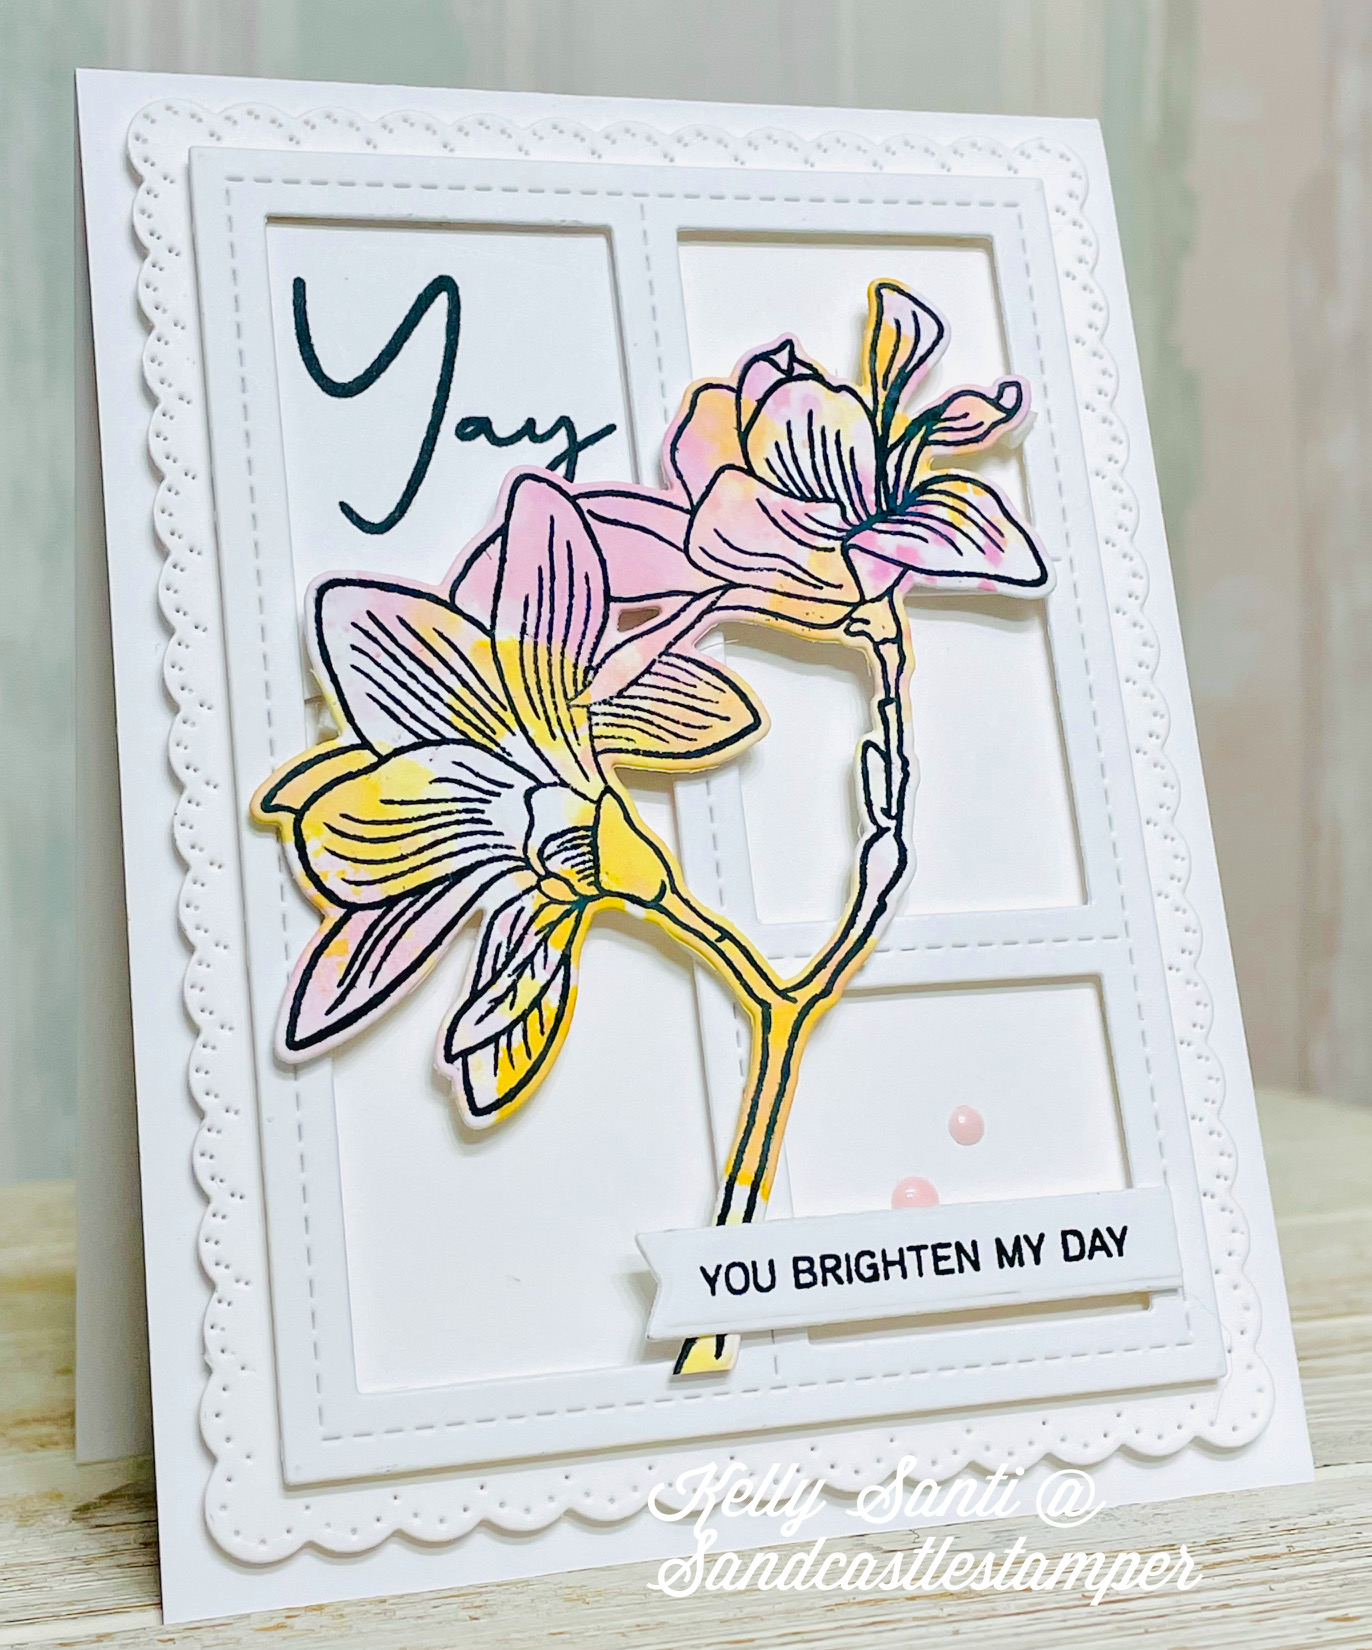
Showing posts with label #Altenewlove. Show all posts

1.14.2025

AECP ~ Celebrate Stencil Techniques!


 Hi friends!


Today I'm sharing a cheerful stenciled card 

bursting with color and technique!

 I'm excited to have completed my card for the next course 

in the AECP Altenew Academy Level 1 journey

that I began in late 2024 and am half way through!


This exciting course was taught by the talented

Laurel Beard and it's all about ways to use your stencils.


I started out with the Build-A-Garden Morning Asters kit

which has a stamp, die, stencils and mini blending brush.


Laurel encourages us to use stencils in creative ways

and wow, she is an entertaining instructor!

I used the stencils in the kit to create a bold flower birthday card,

starting with stamping with black ink and die cutting the images.


Once I had the images ready, I used the matching stencils

and mini blending brush and yellow hues of ink

 from Deco Garden and Pocketful of Sunshine sets.


Once the flowers were blended from the stencils, 

I moved on to the leaves and stems using distress oxide inks.

I also added a background panel using the 


Here's one final look:


I loved Laurel's energy and how she encourages us to make things

 our own, which is a belief I've always stood by.

For example, make your own embossing paste colors for stencils -

mix in ANY color ink.

If you don't like it, remix it until you get a desired result.

And her techniques of lighter to darker make SO MUCH sense!


I look forward to my next class!

Thanks for stopping by!

~Kelly


entered to:  Stencil Crazy Fun ~ Hello


8.07.2024

AECP ~ Easy Die Cutting Technique


 Hi friends!


I'm back with another card creation from the Altenew Academy

AECP ~ Easy Die Cutting Techniques!


For my card today, I'll share how and which Altenew products I used,

and what stood out for me the most with this class technique.

This card is so vibrant and zesty and cheerful!

The class is taught by the amazing Yana Smakula

and she highlights several techniques using die cuts.

The Moroccan Lattice Cover Die is stunning as a background to a card

but on this card, I used the die cut as a stencil - two ways!


 I started this card with the Zesty Life complete bundle 

stamp/die/stencil set from Altenew.

The layering stencils make this such a fun and effortless process!

The images are stamped with Altenew Permanent Black Ink

and die cut with the Zesty Life outline dies

and I did all my ink blending for the stencils with the Stamp Wheel.


The kraft cardstock was run through the die cut machine 

to give a base layer piece.  

Using the Stamp Wheel, I lined it up on top of white cardstock

and blended ink directly through the paper 'die cut' stencil.

I used a heavy hand to get a bolder look

but with the leftover ink only in the brush, 

I made a second background with another cardstock base.

Once it was stenciled, I splattered the bolder one with white paint

for a little extra drama!


One thing that stood out for me in the class is arrangement.

Sometimes foe me, it's an instant feel 

and other times it's trial and error, much like this card. 

 I second guessed where and how to put the 

lemons several times - and then it was the sentiment!

Finally, it mostly made sense and I love that Yana reminds us

to keep the 'stencils' ~ you can use them over and over!


Here's a final look at my encouragement card!

Interestingly enough, that's an actual Key Lime tree behind the card,

growing in our yard with fruit abundant!


Thanks for stopping by!

Happy crafting,

Kelly


7.29.2024

AECP ~ Clean and Simple Boutique Card class


 Hi friends!


Today's card share is a series for the AECP

Altenew Academy Clean and Simple Boutique Cards class

taught by Jennifer Rzasa.

My first takeaway from the class:

Make clean and simple cards that skip instead of walking!


I'm sharing 3 cards from this class

and I'll share with you the stamps, dies and supplies 

that I used for each of the cards.

Clean and simple cards tend to be one layer, minimalistic

but they can still say Va Va Voom with some extra attention to detail!


CARD 1


For this card, I used Altenew crafting essentials clear stamp

and colored it with Altenew alcohol markers.

I stamped the image with permanent black ink

and then stamped out a second stamp set ~ A Splash of Color

and layered the stamps to create a bit of drama!


CARD 2


For the second card, I continued the A Splash of Color stamping

and used a variety of crisp dye inks.

I used the Seashore and Tropical Forest collections

as well as stamping the sentiment with permanent black pigment ink.

And the Altenew Stamp Wheel is a game changer for multiple

stamping with smaller clear stamps that overlap!


CARD 3


For this card, the clean and simple look is layering

and loosely lining the Graphic Brushstrokes clear stamp set.

I stamped directly to the cardstock with a variety of inks

and used the permanent black pigment ink for the sentiment.


Here they are together at a glance!

This class was a wonderful demonstration for me to remember

the clean and simple approach to cards.

I am a layers and dimension girl by nature so it was a nice to 

take a leisurely time watching the demos and videos,

searching through my vast collection of Altenew stamps and deciding 

which ones to showxase for the Clean and Simple Boutique Cards!

Thank you, Jennifer, for a wonderful class and your inspiratiion!

One final glance 

Until next time!

Thanks for stopping by today :)

~Kelly

6.14.2021

Hot Mess Success ~ Water blaster painting!


Hi friends ~

I'm home!


My husband has been in the hospital for almost a week

and I stayed with him right by his side.

That meant missing everything outside the hospital walls,

including the beginning of summer and about 15 cards/blog posts.

But we are now home and he's recovering

and I'm trying to navigate the balance of where I left off

and where I need to be.


I did manage to make some time to craft while he slept today.

In fact, I made a MESS!

It's another edition of the Hot Mess = Success card 

and I KNOW I say every month that THAT month was the messiest ....

but .....

this one just might have take the messiest award :)


It's summer ....... it's HOT!

 Remember how we'd cool off with squirt guns? 

 We called them water (squirt) guns and

We use them in the pool and backyard and just goof off with them :)


I had an idea .... summer water blasters!

I thought "use them to watercolor with!"

So I did :)


Here's the video!


For now, here's what I started with:


I'm in LOVE with the flamingo!

And here is the final a couple of the panels that you'll see 

on the video once it's up.

I made quite a few and just chose this one at random

and you'll see more with different colors and patterns soon!


          And here are the first two cards with this set of panels.

I decided to use a die cut letter "K" 

thinking of the thank you cards I need to send.

K = Kindness!


                                Here the are individually:


I decided to alternate the front panel with the background

as the focal point

and then the letter K as the focal point on the second card.

There's about 15 more panels - so a lot more cards ahead!

Was this month a success:  YES!

Would I do this technique again?  Absolutely!


Thanks for stopping by!

5.30.2021

Send it Saturday ~ Card #1


Hi friends!


Today's card is a little bit of this ...

and a little bit of that!

I hope I'm not the only one who starts a project ...

then puts it on hold before completion :)


I think for me it's that tale as old as time ...

only a few minutes sometimes!

I was SUPER EXCITED to play with the new Salvaged Patina

last month or so that I made so. many. flowers!


So for Send-It-Saturday, I decided to look through my half projects

and container of sentiments and put a card together.

It = forgotten bits and pieces and Send = add it to the post.


I used a background piece that I made with Ranger's Twisted Citron

and pounced the ink onto the paper - and didn't use it.

It became the perfect backdrop for this floral from Altenew

and the flower was watercolored the same way with the Salvaged Patina.

I ADORE this color!

I plan to do this many times a month :)

It's a great way to clean up the clutter, get the stuff off the desk

and out of files (or bowls!), onto a card and in the mail!


Thanks for stopping by ~

have a great weekend!


5.12.2021

Hot Mess = Success: Ice Cube Painting!


Hi friends!


Today's card is for the May Hot Mess = Success card challenge.

The idea is to create a card using any very messy technique.

And this month just might have been the messiest YET!


Normally, I. do. not. like. messes.

Nope.

Not here, not there, not anywhere!

But, with artwork and crafting, there is a type of enjoyment in the process

of creating art that are way, WAY outside my comfort zone!


The messy technique:  Ice Cube Painting!

I've known about this type of painting for years and years

and gave it the 'ol college try once I had the 'ingredients.'

I bought a set of ice cube trays at the Dollar Tree

and used some of my acrylic paints in just random colors.


            How It works: 
  mix 1/2 part acrylic paint to 1/2 parts water 

                                   and freeze - it's that easy!

I added mine to a freezer bag ( I think I would have had heart failure

if this would have spilled out in my freezer - acrylic paint? NO!)

I also left it there for about 2 months because I didn't have time :/


Once it's frozen, I let it set for about 30 seconds and popped them out

of the tray onto a plastic surface.

Note:  THESE MELT FAST!

Have your paper ready and just swipe and color and paint.

Oh - did I mention .... you will need gloves?!

As you "draw" and "paint", it's also melting ... 

so the cubes don't last that long but they are SUCH a joy to color with!


HERE IS THE VIDEO!


I think I was able to paint about 20 backgrounds

and they do take several hours to dry because it's acrylic paint.


But once they dried, I was so in love with how unique 

and bold and different each piece was.

The first one, I did a simple stamping onto the painted background,

ran it through the die cutting machine and popped it up onto a card.


And here's another look at my card:


Was this month a success:  YES!

Would I do this technique again? 

Absolutely I would!  I think it's my  favorite messy technique so far!


Here are the other friends getting messy this month:

Barb

Carol

Darlene

Jeanette

Terry


Be sure to check back again for the video tutorial of this messy card

and, of course, next month with another mess! :)


Thanks so much for stopping by :)


5.03.2021

One Plus Twelve - May


 Hi friends!

I hope you had a terrific weekend!

Ours was so wonderful, enjoying the kids being home

 and outdoor events and activities and way. too. much. food!

I also got in a wee bit crafting - yay!


Today's card is for my very FAVORITE series - One Plus Twelve!

This is where I take a (1) stamp 

~ and only one stamp ~

and use it one a month (12) in a creative way :)


For 2021, I am using Altenew's Build-A-Flower Magnolia stamp.

This month, I tried the tie-dye background

using distress oxide inks.  

This was crazy fun!  

I tried it on two panels and this was one of the two ~

so I added a plain white flower with sparkly Wink of Stella for glitz.


This was such a fun technique to do - 

although mine didn't turn out so well, it was still wild to try :)

You can see Barb's card here and Jeanette's card here

with this same card challenge.

And be sure to peek at my blog in one more sleep

for something NEW on the blog!

I can't wait to share it with you.


Thanks for stopping by!


4.04.2021

One Plus Twelve - April


 Hi friends!

Happy Easter ~ He is Risen!

I hope today is a sweet day for you all :)


My card today is for my April card challenge called One Plus Twelve.

It's where I take one stamp 

- and just one -

and use it creatively twelve different ways!


The stamp I chose for 2021 is Altenew's Build-a-flower Magnolia

and this is my April card 


I love coming up with creative ways to use this ONE stamp!

Sometimes it's hard not to stamp it twice or repeat stamp

but I am personally sticking to the challenge 

and just using the magnolia once.

There are so many techniques and ways to create a card.

I love that it's a challenge to be so out of the box creative

AND keep the intrigrity of the challenge :)


For April, I'm using a technique called Wrinkle Free Distress 

(you can see how it gets it's name here)

Instead of using the distressed background as just that,

I stamped directly to the background and die cut the flower out of it.


And that's my card :)

If all goes well, my May card is already thought out and planned!


Thanks for stopping by!

Entered to: Beyond the Blue: wrinkle free distress 

3.07.2021

One Plus Twelve - March


Hi friends!

Today's card is for my very VERY favorite card series -

One Plus Twelve :)

The idea I take one stamp 

- and only one stamp - 

and use it creatively twelve different times!

This year, I chose my favorite flower - Magnolias -

and I'm using the Magnolia stamp and die from Altenew.


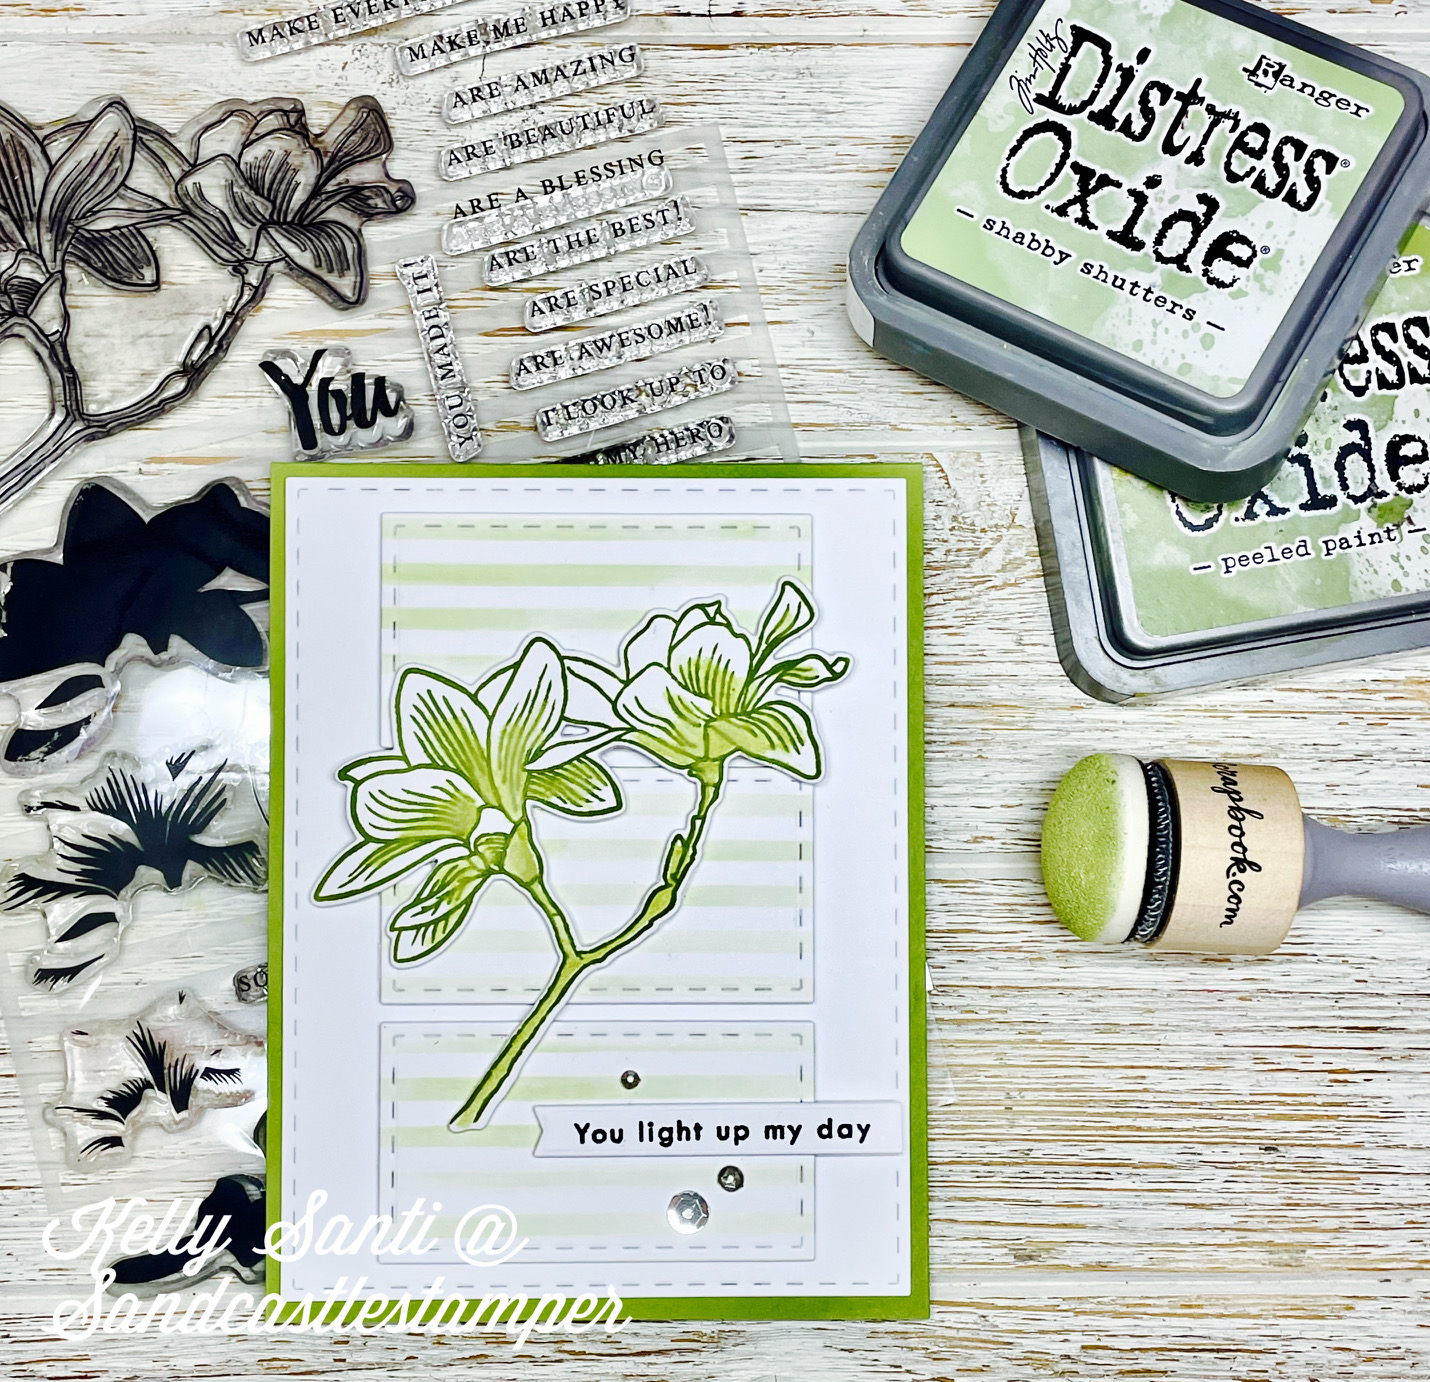
For March, I knew I wanted to use my favorite color green <3

This month always reminds me of spring

and everything turning green again with new growth, new life!

I did some stamped line watercoloring,

although it wasn't as successful as I'd hoped, I still like it :)


To create this card, it took a lot of different products and layers

so let me walk you through it!


Here's my card:


I started a base layer of cardstock and used my striped stencil

to create the subtle lines with Ranger distress ink in Shabby Shutters.

I blended the ink with the stencil using the using the new-to-me

 scrapbook.com domed blenders and they are amazing!

Once that was done, I used a small rectangle stitched die to 

die cut 3 matching panels as a backdrop.


Next up,  I used another distress ink in Peeled Paint to stamp the image 

and used a paint brush and water to pull the ink 

After that was dry, I used the matching die cut for the magnolia

and popped that up on foam, too - and added a sentiment and sequins.


And that's my March One Plus Twelve card!

Thanks for stopping by!