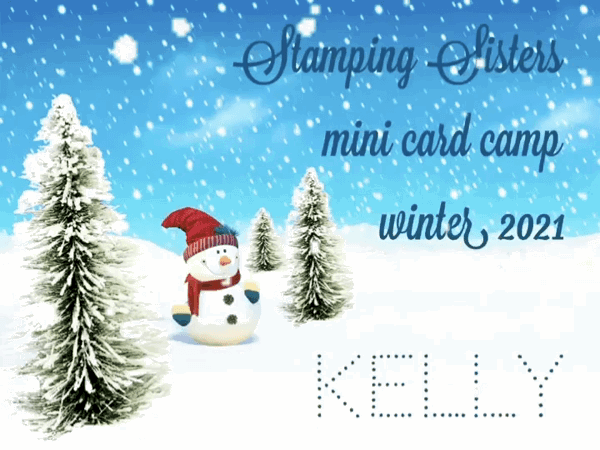
Hi friends!
Welcome to Day 3 of winter card camp where today
I am the teacher!
Oh boy.
I think in real life I'd be one who brings cupcakes to school at 7 am,
has disco music on during class
and would put my feet up on the desk!
So ... it's probably a good thing that's not the profession I chose ;)

For today, my class is easy peasy!
Like so ridiculously easy!
Sneak Peeks:

Supplies need:
Any magazine, ink and a stamp w/ a matching die if desired
(you can always just fussy cut!)

The idea behind these cards started during the holidays.
We were getting catalog after catalog in our mailbox,
and most were unsolicisted and went into the trash.
A few I kept and thought - these are too nice to get rid of!
At the very least, use them for ......... something. anything.
Pick your magazine page and ink up a stamp.
Stamp directly onto your magazine paper and let it dry.
The paper tends to be a little slick - so a heat gun may be good, too
but not necessary.
Once it's dry, die cut/fussy cut your image and add it to your card.
Super simple!
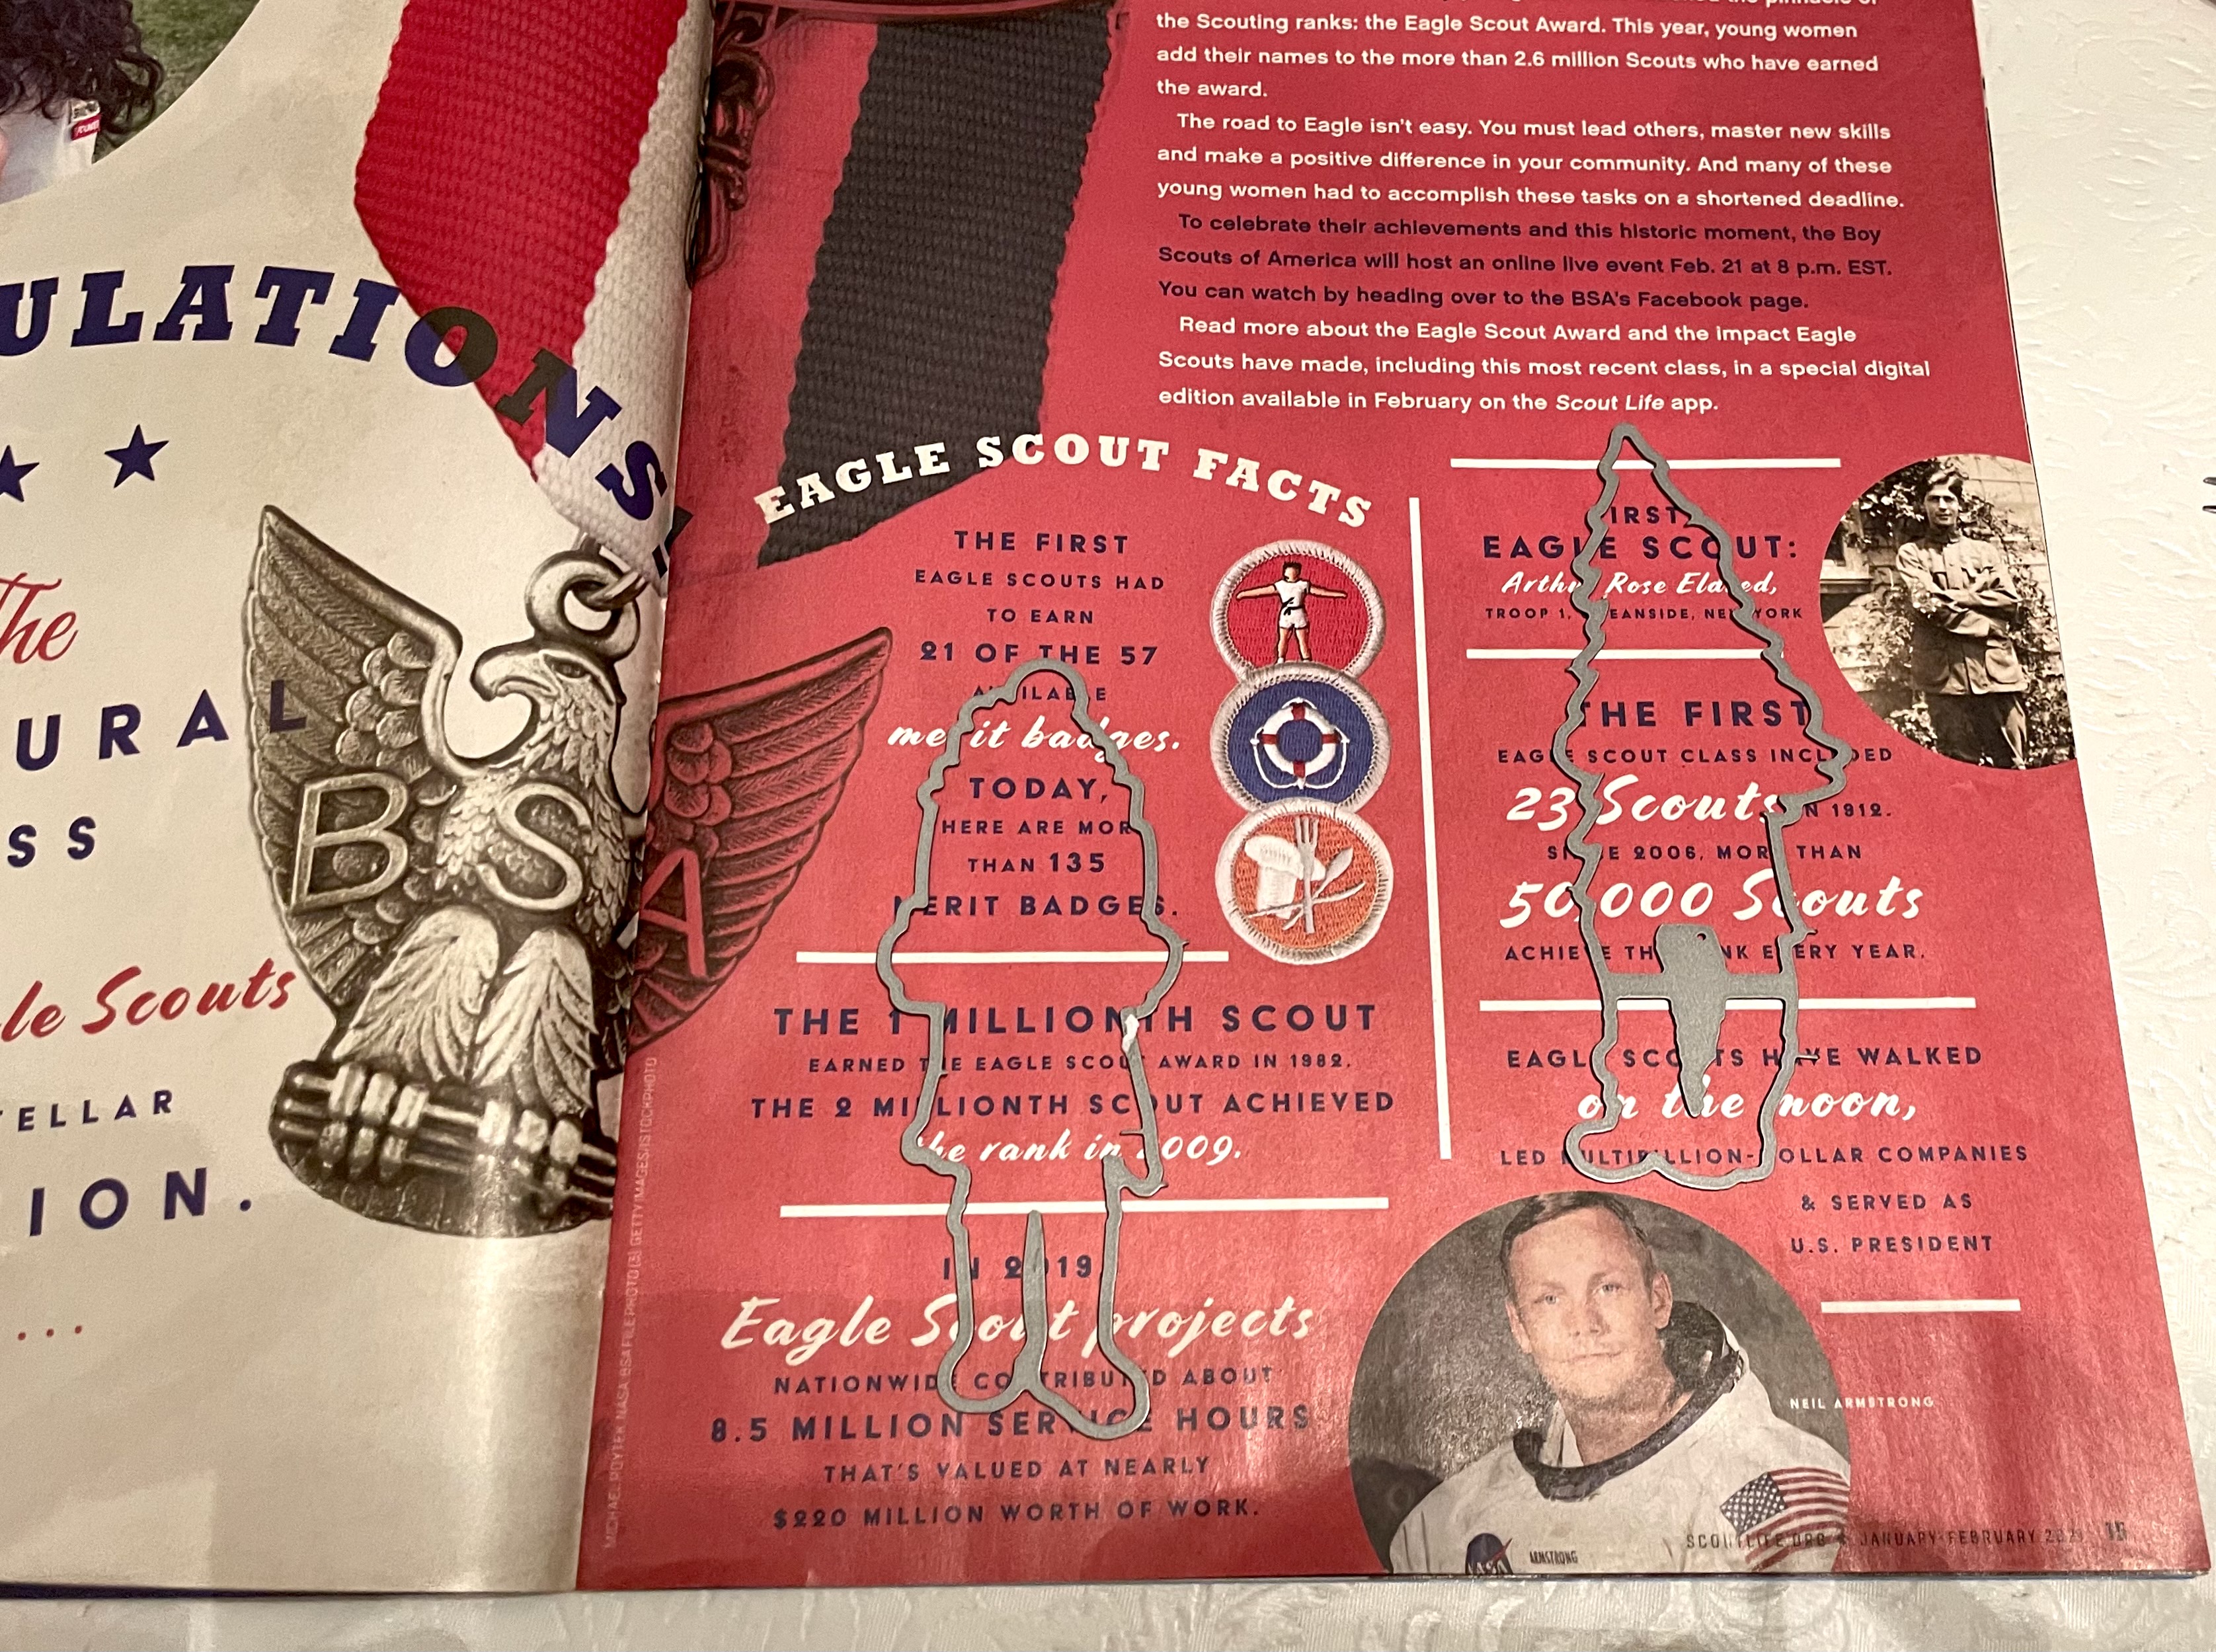
Here's my first card using Concord and 9 Festive Friends.
I chose this one and this paper because it was from the Boy's Life
Boy Scout magazine my son gets.
He likes the jokes, I like the hero stories that are in it
but for this card, I chose one intentionally with words on it.
Their troop sells Christmas trees each year at a lot to fundraise,
so I thought this girl holding package would be a good choice.
Even the background was another page from the magazine!

Next up, this card is using floral images from a magazine,
cut to smaller pieces for easier stamping.
I'm using Magnolia from Neat and Tangled
and stamped on the magazine and die cut the images.

I die cut the frame and then cut an identical one on white cardstock.
They are glued together using only the top of the magazine paper,
the bottom is white cardstock.

Next, I used varied scraps of the floral bouquets for my images
and I stamped directly onto the paper.


Using the matching dies, I cut those out and started my card
assembly, adding them to the front and adding a sentiment.
I love the unique look the paper gives it!

including in junk mail :)
Thanks for getting this far!

How fun is that!! What a great technique, Kelly, and a fun way to do something different with your dies!! Great card!!
ReplyDeleteThis is real fun and the results look great!
ReplyDeletexxx Margreet
Oh Kelly - what a fun tutorial (I'm looking forward to giving it a try!) and your cards are all OUTSTANDING! Your creativity is just amazing!!!
ReplyDeleteSo creative, Kelly! What great inspiration from recycling!
ReplyDeleteWOW--what a sweet set of cards. I cannot wait to try this out this afternoon. Great Challenge!
ReplyDeleteWhat a gorgeous card Kelly, beautifully created with lovely colouring, Kate x
ReplyDeleteVery impressive!!! Love these ideas, you are so creative! Now I need to find magazines that haven't hit the recycling bin yet. I love the floral card and I think your Scout fundraiser card will be a big hit!
ReplyDeleteFabulous projects Kelly...Loz
ReplyDeleteKelly, you are a genius!!! WOW!! Such amazing idea!! LOVE the cards made with magazine, stamps and dies!!! Especially that for your son!! Thanks so much for sharing your creativity!!
ReplyDeleteYou are so inventive Kelly!! A brilliant idea and the end result is amazing. Big hugs and blessings, Carol S.xxxx
ReplyDeleteWhat a simple but ever so effective technique Kelly - and wonderful results on two totally different cards!
ReplyDeleteStay safe
Blessings
Maxine
Another great technique and beautiful card. well done.
ReplyDelete